Crochet V Stitch Relief Square [Free Video Tutorial & Written Pattern!]
*** You can purchase an INEXPENSIVE AD-FREE PDF of this pattern HERE 👈😊***
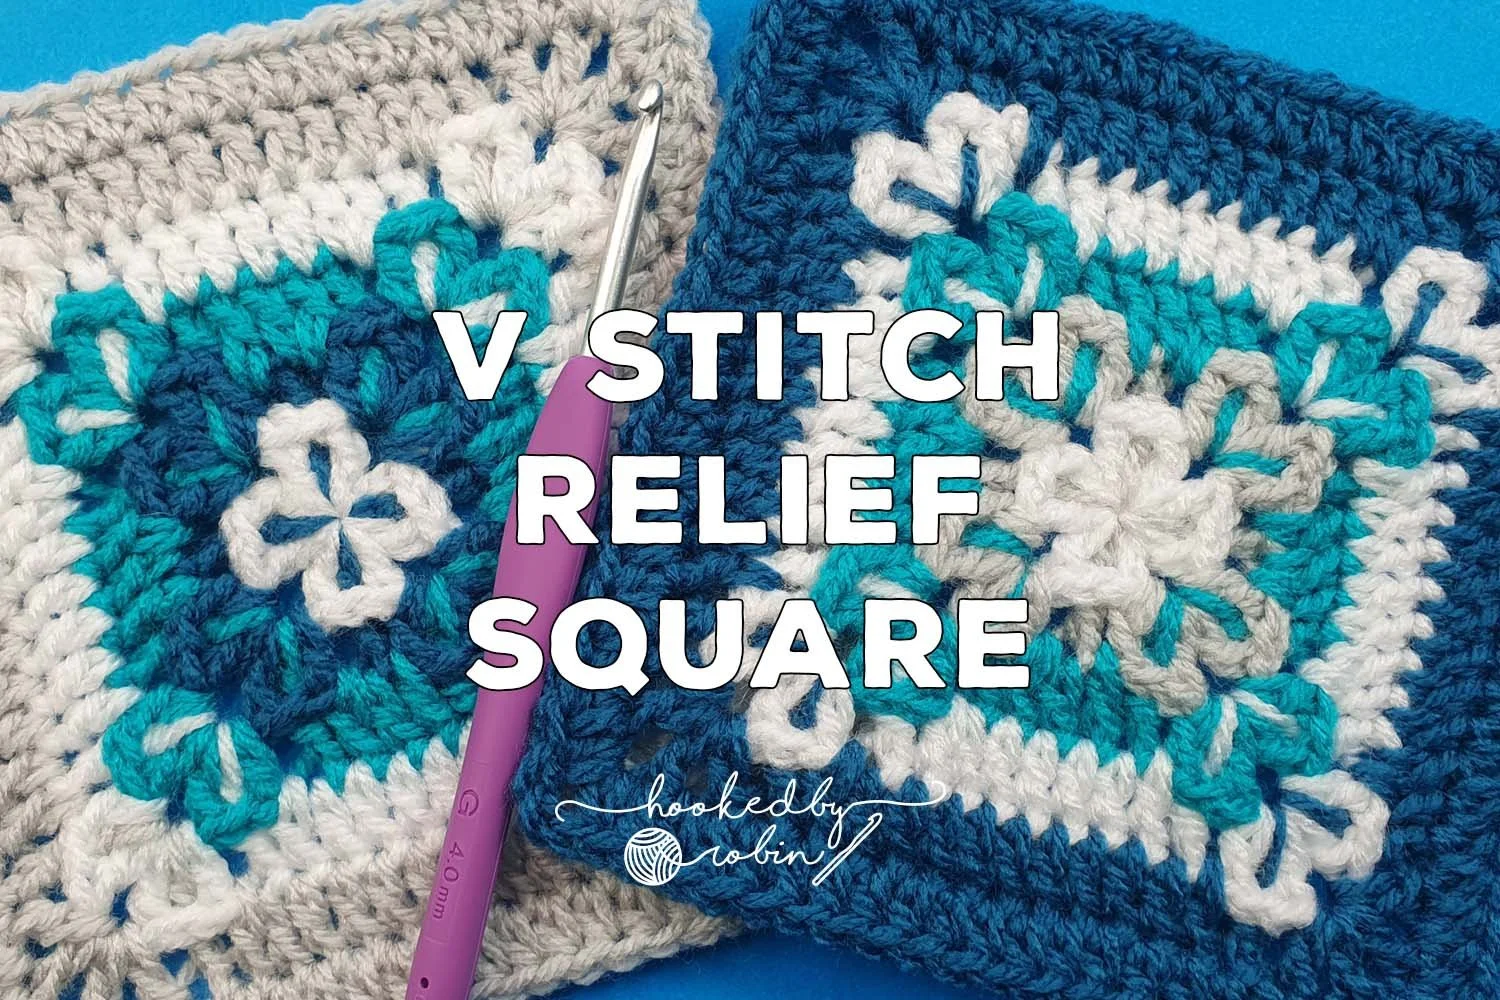
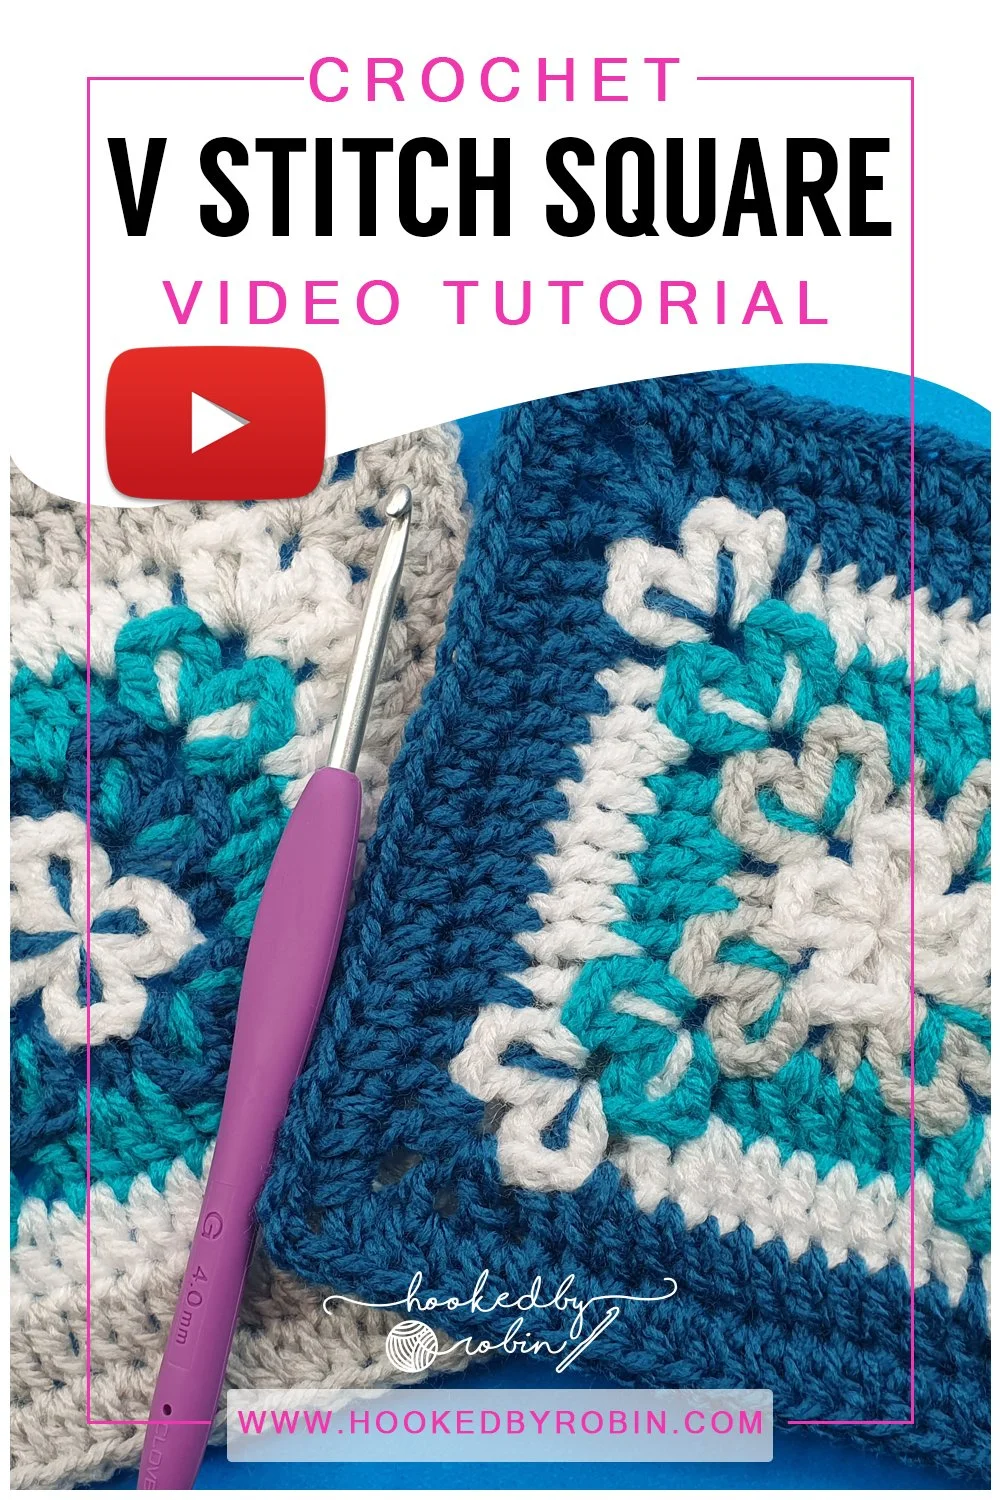
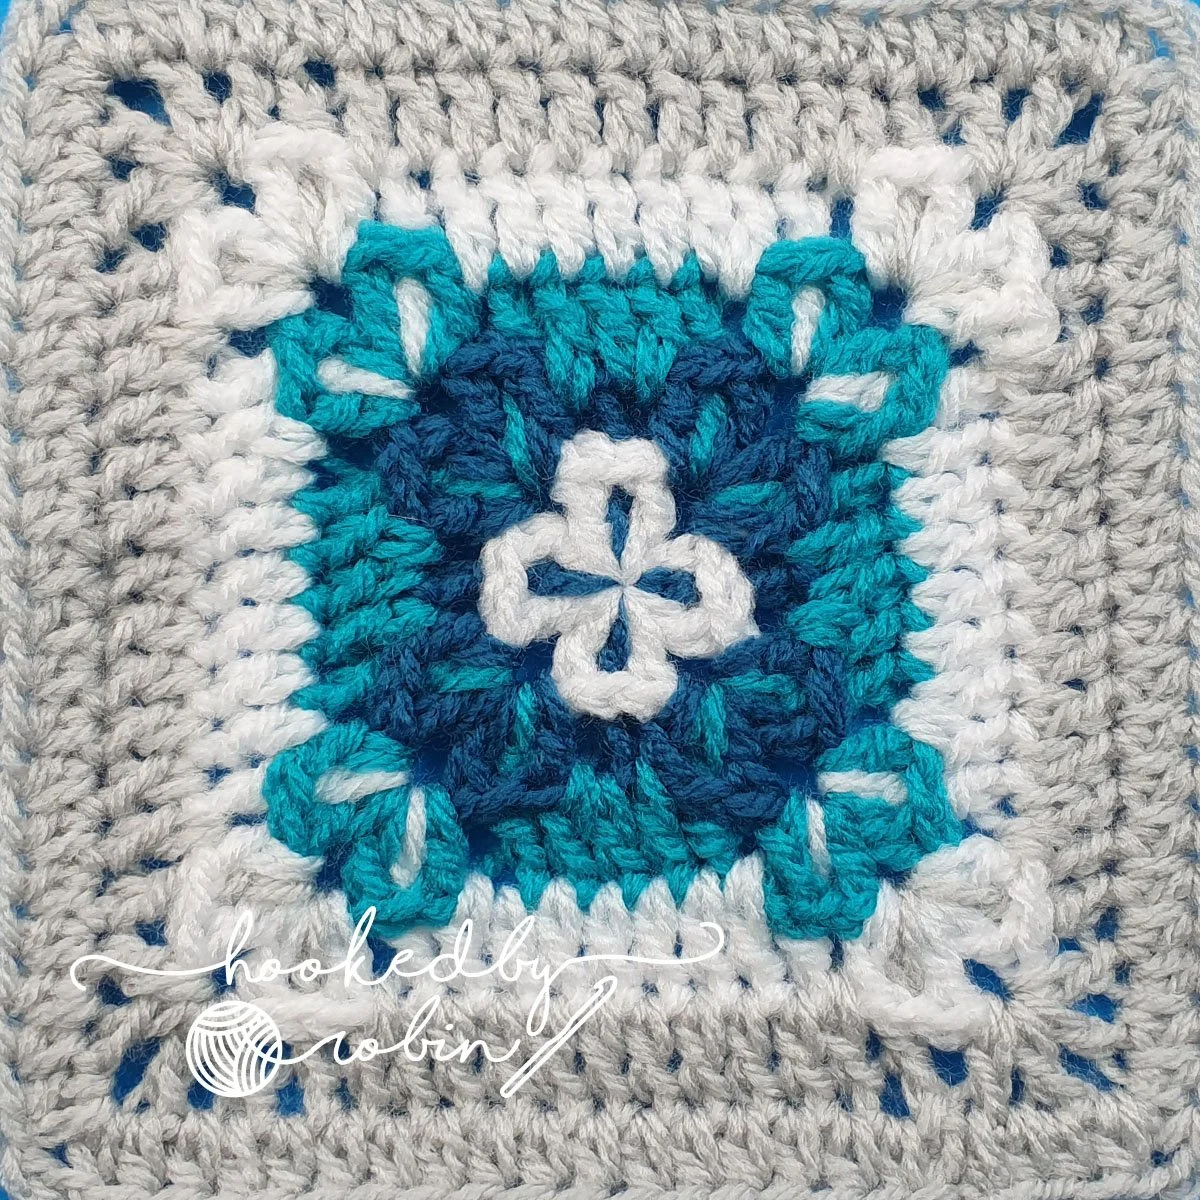
Learn how to Crochet this stunning V-Stitch Relief Square!
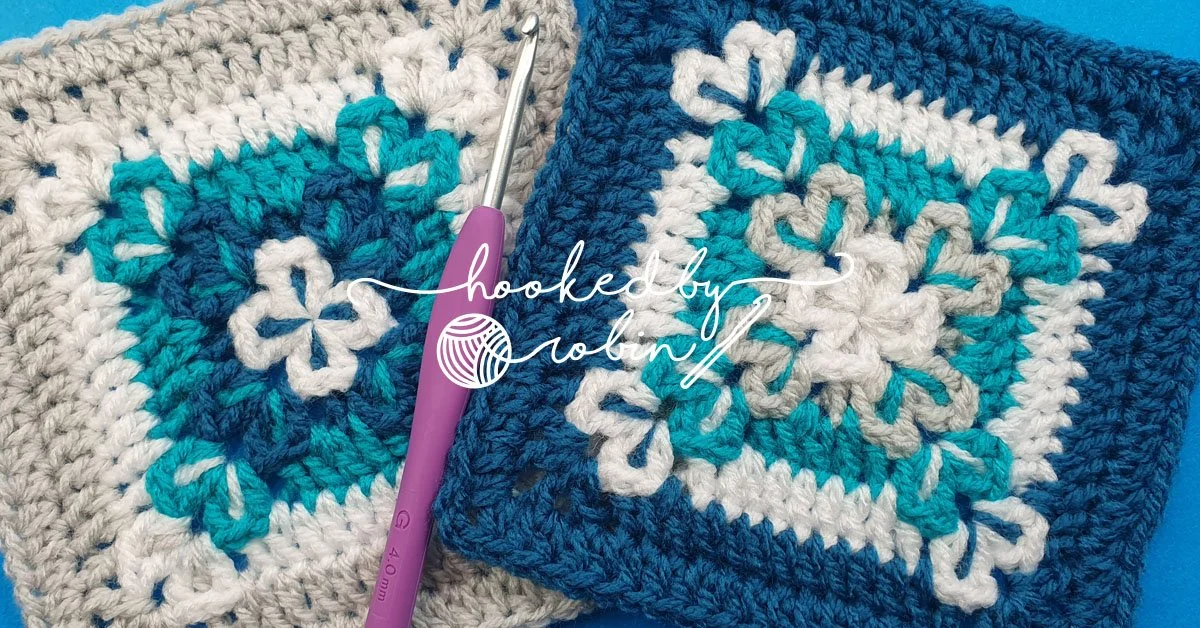
This square is part of the Vintage Winter Crochet Along Blanket, however, you can use it independently for any project you wish! ❄️
A full blanket of these vstitch relief squares would look AMAZING 🤩
In the video I show you step by step, how to crochet this square from start to finish making it suitable for beginners :D
Watch the full step by step video tutorial below or alternatively, keep scrolling for the written pattern :)
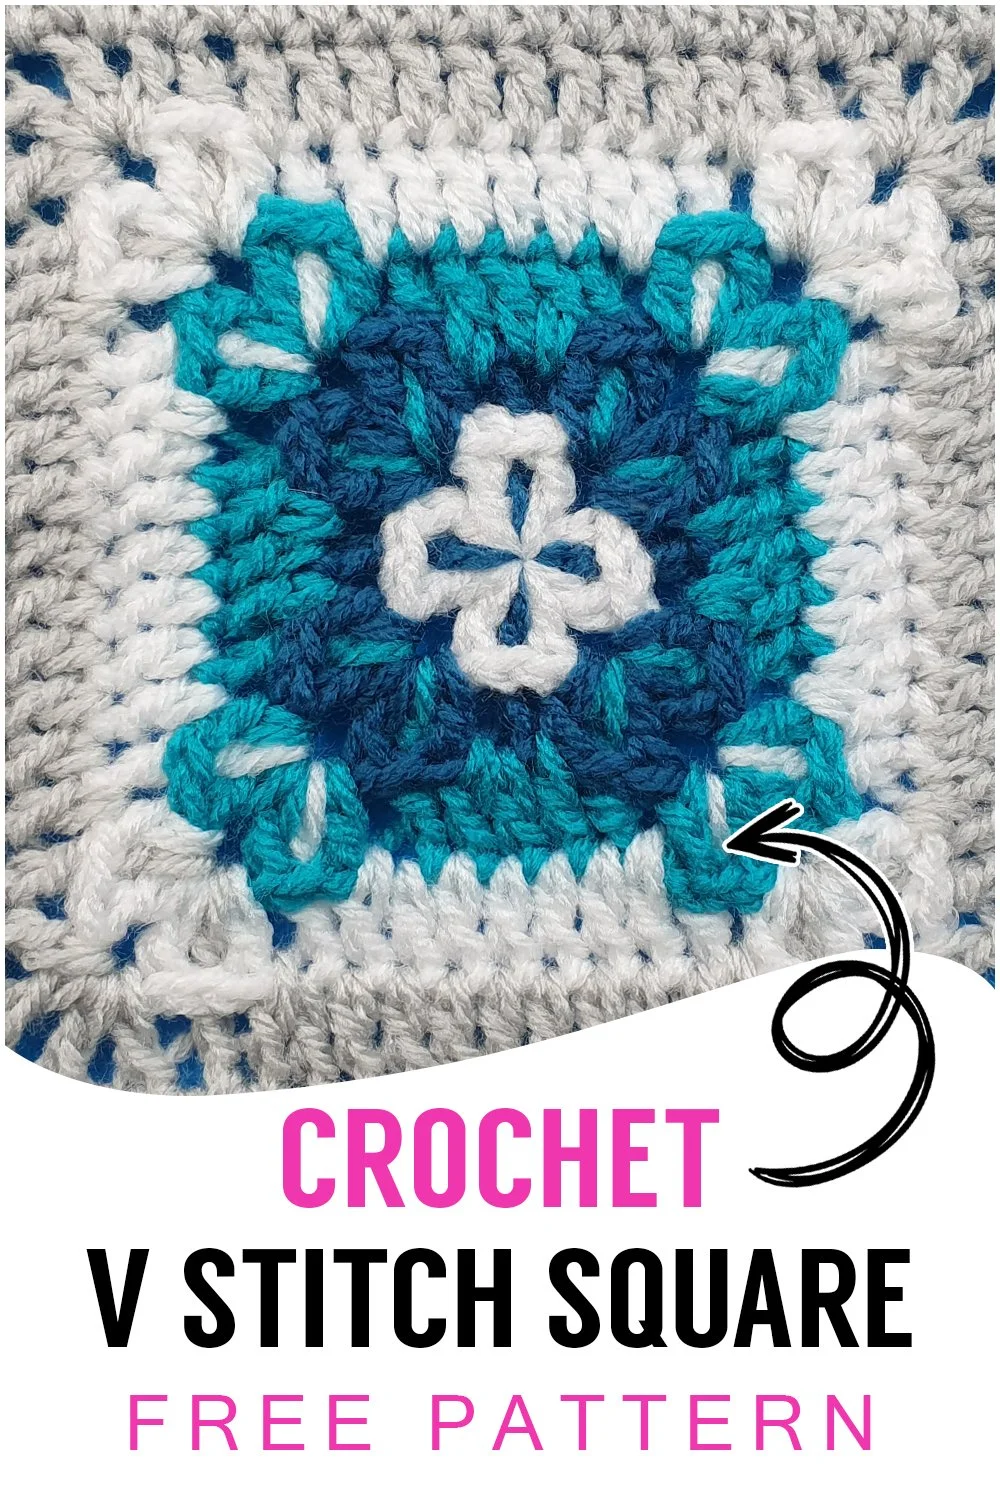
Pin for later
Crochet V-Stitch Relief Square WRITTEN PATTERN
USA STITCH TERMS
Hook Size(s): according to your yarn
Abbreviations:
Ch = Chain
SC = Single Crochet
HDC = Half Double Crochet
DC = Double Crochet
TR = Treble Crochet
Sp = Space
St = Stitch
SS = Slip Stitch
Rep = Repeat
Special Stitches:
V St: [1 DC, Ch 1, 1 DC] worked into the same space
Standing Double Crochet: Yarn over, insert your hook into the stitch, yarn over, pull up a loop so that there are three loops on the hook. Yarn over and pull through two loops, yarn over, and pull through the remaining loops.
Pattern for V-Stitch Relief Square:
Round 1: Using white yarn make a Magic Ring and Ch 5 (counts as 1 DC and Ch 2)
Rep *V St, Ch 2* x 3
End with 1 DC, Ch 1, SS to 3rd Ch of initial Ch5.
Ch 1 and fasten off
DO NOT FULLY TIGHTEN MAGIC RING
Round 2: Using colour yarn
Make 1 Standing Double Crochet in any Ch2 corner Sp, Ch 1, 1 DC, Ch 2, V St in same Sp.
Inserting the hook from BACK to FRONT, work 1 TR through the Ch1 Sp of the V St from round below and down into the Magic Ring
Please note: all TR stitches from this point on will be worked by inserting the hook from the BACK to FRONT of your project to work the stitch.
Rep: *[V St, Ch 2, V St] into Ch2 Sp
1 TR in Magic Ring through the Ch1 sp of the V St from round below* x 3
SS to Standing Double Crochet to join, Ch 1 and cut yarn.
You can now fully tighten the Magic Ring
Round 3: Using next colour yarn
Make 1 Standing Double Crochet into any Ch2 corner Sp, Ch 1, 1 DC, Ch 2, V St in same Sp
Inserting the hook from BACK to FRONT, work 1 TR through the Ch1 Sp of the V St from Round 2 and into the Ch2 Sp from Round 1
Please note: all TR stitches from this point on will be worked by inserting the hook from the BACK to FRONT of your project to work the stitch.
Rep: *1 DC into gap in between V St & TR from row below
1 DC into TR
1 DC into gap in between TR & V St from row below
1 TR into the Ch2 Sp from Round 1 through the Ch1 Sp of the V St from Round 2
[V St, Ch 2, V St] into Ch2 corner Sp
1 TR into the Ch2 Sp from Round 1 through the Ch1 Sp of the V St from Round 2* x 3
End the round with:
1 DC into gap in between V St & TR from row below
1 DC into TR
1 DC into gap in between TR & V St from row below
1 TR into the Ch2 Sp from Round 1 through the Ch1 Sp of the V St from Round 2
SS to Standing Double Crochet to join, Ch1 and cut yarn
Round 4: Using white yarn
Make 1 Standing Double Crochet into any Ch2 corner Sp, Ch 1, 1 DC, Ch 2, V St in same Sp
Insert the hook from BACK to FRONT and work 1 TR through the Ch1 Sp of the V St from Round 3 and into the Ch2 Sp from Round 2
Please note: all TR stitches from this point on will be worked by inserting the hook from the BACK to FRONT of your project to work the stitch.
Rep: *1 DC into gap in between V St & TR from row below
1 DC into next 5 Sts
1 DC into gap in between TR & V St from row below
1 TR into the Ch2 Sp from Round 2 through the Ch1 Sp of the V St from Round 3
[V St, Ch2, V St] into Ch2 corner Sp
1 TR into the Ch2 Sp from Round 2 through the Ch1 Sp of the V St from Round 3* x 3
End the round with:
1 DC into gap in between V St & TR from row below
1 DC into next 5 Sts
1 DC into gap in between TR & V St from row below
1 TR into the Ch2 Sp from Round 2 through the Ch1 Sp of the V St from Round 3
SS to Standing Double Crochet to join, Ch1 and cut yarn
Round 5: Using next colour yarn
Make 1 Standing Double Crochet into any Ch2 corner Sp, Ch 1, 1 DC, Ch 2, V St in same Sp
Insert the hook from BACK to FRONT and work 1 TR through the Ch1 Sp of the V St from Round 4 and into the Ch2 Sp from Round 3
Please note: all TR stitches from this point on will be worked by inserting the hook from the BACK to FRONT of your project to work the stitch.
Rep: *1 DC into gap in between V St & TR from row below
1 DC into next 9 Sts
1 DC into gap in between TR & V St from row below
1 TR into the Ch2 Sp from Round 3 through the Ch1 Sp of the V St from Round 4
[V St, Ch2, V St] into Ch2 corner Sp
1 TR into the Ch2 Sp from Round 3 through the Ch1 Sp of the V St from Round 4* x 3
End the round with:
1 DC into gap in between V St & TR from row below
1 DC into next 9 Sts
1 DC into gap in between TR & V St from row below
1 TR into the Ch2 Sp from Round 3 through the Ch1 Sp of the V St from Round 4
SS to Standing Double Crochet to join, DO NOT CUT YOUR YARN
Round 6: Ch 1, 1 HDC in same St
1 HDC in Ch1 Sp, 1 HDC in next St
Work [1 HDC, Ch 2, 1 HDC] in corner Ch2 Sps
Work 1 HDC in each St and Ch1 Sp along sides (19 Sts)
To end, work 1 HDC into the last 16 Sts, SS to 1st HDC of the Round, Ch1 and cut your yarn.
Your finished square will have 21 total stitches along each side.
Pin for later
If you spot any errors in the written pattern please do let me know.
Happy Crocheting!
Robin