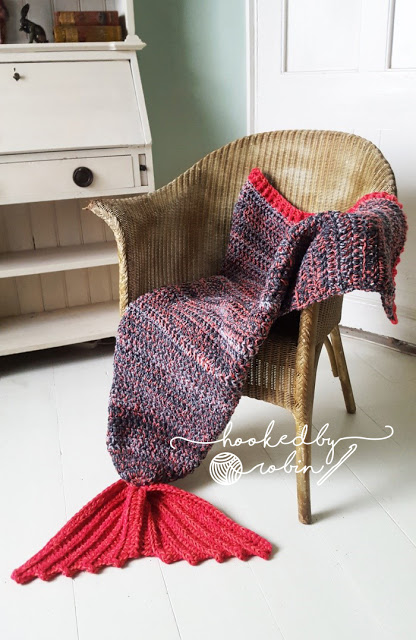
Crochet Mermaid Tail FREE PATTERN
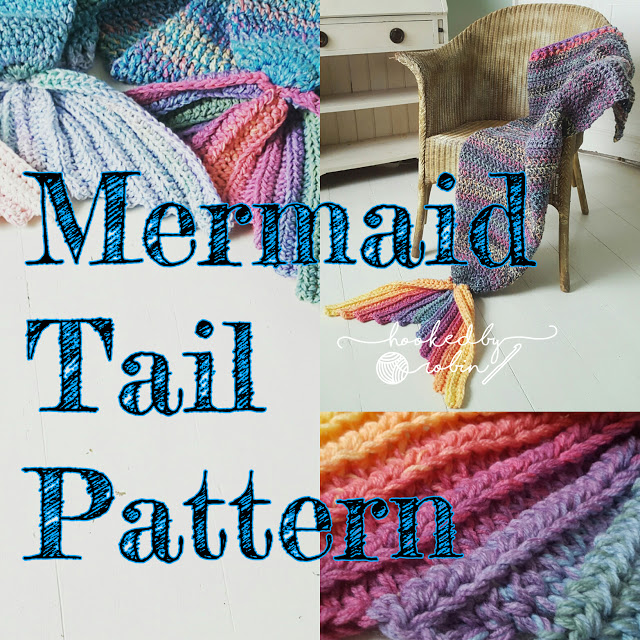
Mermaid Tail Blanket Pattern
(USA Stitch Terms)

The mermaid tail is made using 3 strands of yarn worked together on a 10mm hook.
For the body
you will need one strand of chunky and 2 strands of double knit weight yarn worked together at the same time.
I have noted the approximate meterage of yarn I use for my adult sized blankets, if you wish to extend the length of the blanket; you will of course need more.
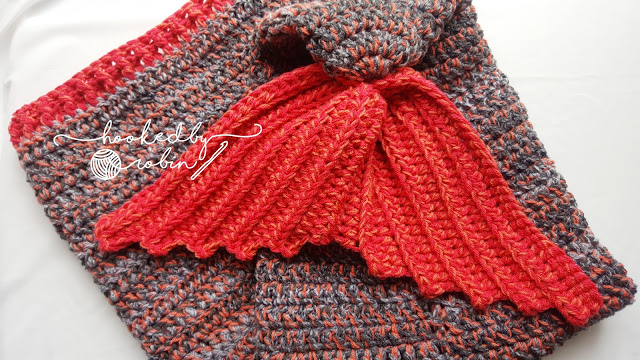
My mermaid tails work up to be approximately 42 inches in length excluding the tail fin and so are lap sized for an average adult.
For the fin and contrasting top band, it is again made using 3 strands of yarn worked together at the same time.
One ball of each of your chosen colours will be plenty.
If you wish your fin to be stiffer and to hold its shape better, you can use 4 strands of dk yarn.
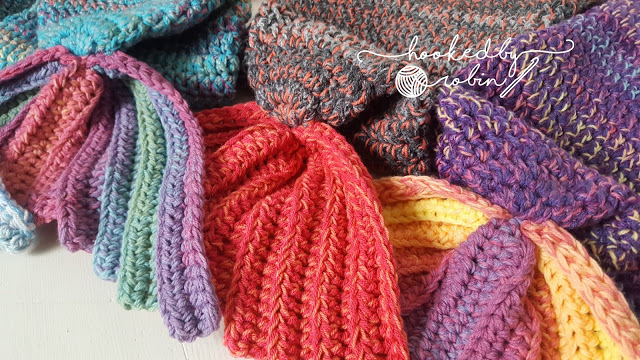
I personally like using variegated yarn for the fin and contrasting band, however, for the photos in this pattern I have used solid colours so you can see the stitches more clearly.
The tail is a foot pouch which then opens up at the back to become a standard blanket so is easy to get and out of.
This also gives you more flexibility for any alterations you may need to make for the height and width of the tail you wish to make. Once the foot pouch has been made, by simply extending the length of the blanket or increasing the stitch count will produce a longer or wider blanket.
This pattern is highly adaptable; experimenting with different colour combinations will produce unique tails and give lots of creative licence to you the creator!
Materials needed:
Mermaid Tail Body (3 strands of yarn worked at the same time)
Approximately:
500m chunky yarn
500 – 550m of double knit yarn
500 – 550m of double knit yarn
10mm crochet hook
Mermaid Fin and contrasting trim
3 balls of 100g dk yarn will be plenty (3 strands worked at the same time)
10mm hook
Stitches used
(main body of blanket):
Magic ring / circle
Ch (chain)
Dc (double crochet)
Inc (increase = 2dc in same stitch)
Slip Stitch (ss)
Special stitches used
(contrasting band):
Fpdc (front post double crochet)
Bpdc (back post double crochet)
Special stitches used
(tail fin):
Fhdc (foundation half double crochet)
Hdc (half double crochet)
Sc (single crochet)
*small note – for this pattern, I have used a ch2 to start each round / row.
If you wish to substitute this ch2 for a standing double crochet or any other variation of avoiding the chain gap, please feel free to do so. There is a wonderful tutorial on 3 differing methods by Felted Button here:
http://www.feltedbutton.com/2014/09/mind-gap-avoiding-turning-chain-hole.html
** Repeat the pattern between the asterisks “* *” until end of round
Mermaid tail body – foot pouch section
Leave a long tail of yarn before you start your work so you can use it to help secure your fin to the body later.
Using 3 strands of yarn (1 chunky, 2 dk)
WORKING IN ROUNDS
Ch2 counts as first dc stitch.
Join at the end of each round.
When joining, slip stitch into the top of your initial ch2.
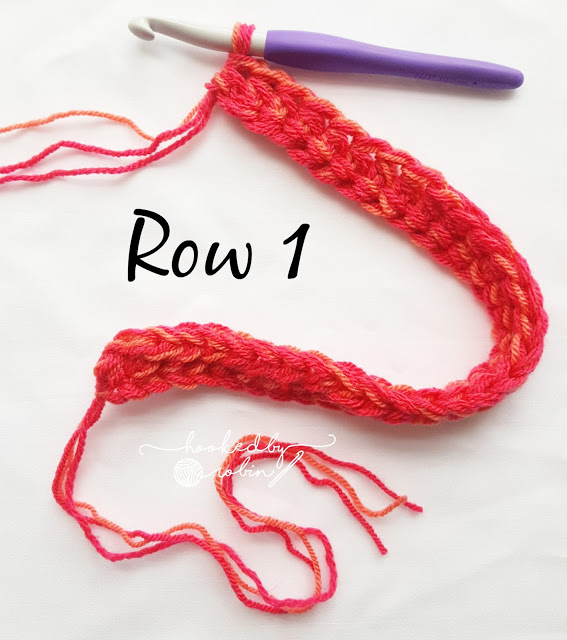
1. Magic ring, ch2, 11dc into the ring (12)
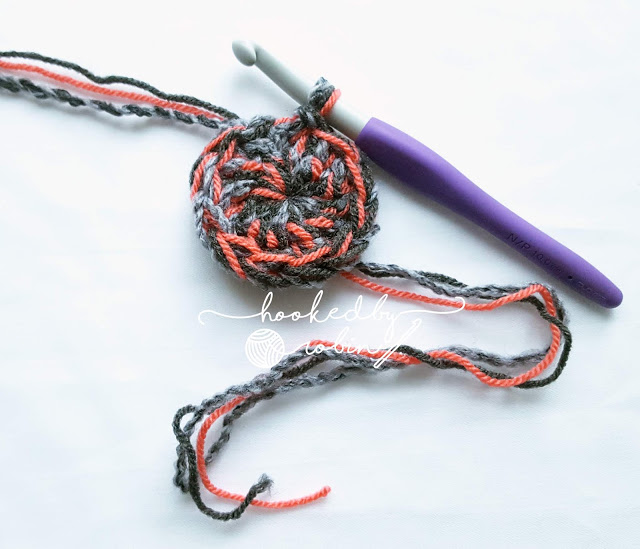
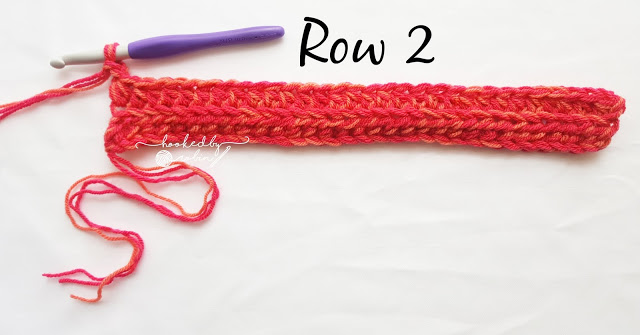
2. Ch2, 1dc into same stitch. *2dc into each stitch* (24)
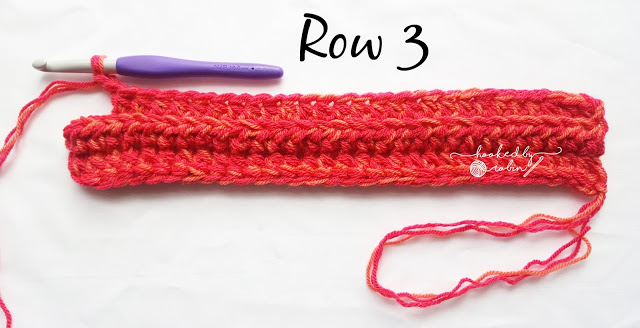
3. Ch2, *1dc into each stitch* (24)
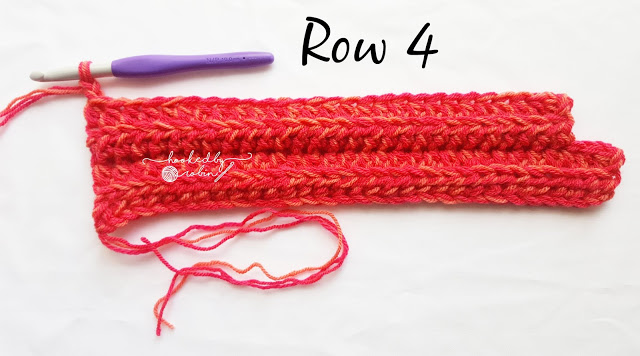
4. Ch2, *1dc into each stitch* (24)
5. Ch2, inc in next stitch. *1dc, inc* (36)
6. Ch2, *1dc into each stitch* (36)
7. Ch2, *1dc into each stitch* (36)
8. Ch2, *1dc into each stitch* (36)
9. Ch2, 1dc into next 4 stitches, inc in next. *5dc, inc* (42)
10. Ch2, *1dc into each stitch* (42)
11. Ch2, *1dc into each stitch* (42)
12. Ch2, *1dc into each stitch* (42)
13. Ch2, 1dc into next 5 stitches, inc in next. *6dc, inc* (48)
14. Ch2, *1dc into each stitch* (48)
15. Ch2, *1dc into each stitch* (48)
16. Ch2, *1dc into each stitch* (48)
17. Ch2, *1dc into each stitch* (48)
18. Ch2, 1dc into next 6 stitches, inc in next. *7dc, inc* (54)
19. Ch2, *1dc into each stitch* (54)
20. Ch2, *1dc into each stitch* (54)
21. Ch2, *1dc into each stitch* (54)
22. Ch2, *1dc into each stitch* (54)
23. Ch2, 1dc into next 7 stitches, inc in next. *8dc, inc* (60)
24. Ch2, *1dc into each stitch* (60)
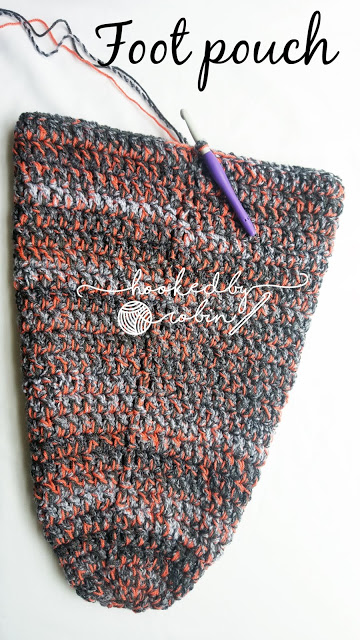
Foot pouch complete! Onto the blanket section.
** Repeat the pattern between the asterisks “* *” until end of round
Mermaid tail body – blanket section
Now you will not be working in joined rounds but in traditional rows. Turn your work at the end of each row.
WORKING IN ROWS
Ch2 counts as first dc stitch.
DO NOT Join at the end of each round.
TURN YOUR WORK at the end of each row.
25. Ch2, *1dc into each stitch* (60)
26. Ch2, *1dc into each stitch* (60)
27. Ch2, *1dc into each stitch* (60)
28. Ch2, *1dc into each stitch* (60)
29. Ch2, *1dc into each stitch* (60)

30. Ch2, 1dc into next 8 stitches, inc in next. *9dc, inc* (66)
31. Ch2, *1dc into each stitch* (66)
32. Ch2, *1dc into each stitch* (66)
33. Ch2, *1dc into each stitch* (66)
34. Ch2, 1dc into next 9 stititches, inc in next. *10dc, inc* (72)
35. Ch2, *1dc into each stitch* (72)
36. Ch2, *1dc into each stitch* (72)
37. Ch2, *1dc into each stitch* (72)
38. Ch2, *1dc into each stitch* (72)
39. Ch2, *1dc into each stitch* (72)
40. Ch2, *1dc into each stitch* (72)
41. Ch2, *1dc into each stitch* (72)
42. Ch2, *1dc into each stitch* (72)
43. Ch2, *1dc into each stitch* (72)
44. Ch2, *1dc into each stitch* (72)
45. Ch2, *1dc into each stitch* (72)
46. Ch2, *1dc into each stitch* (72)
47. Ch2, *1dc into each stitch* (72)
48. Ch2, *1dc into each stitch* -
end final stitch by joining your contrasting band yarn
(72)

Cut your tail body yarn leaving long tail to weave in afterwards. With your 3 strands of contrasting band yarn ready, onto the band!
Contrasting band
Using 3 strands of dk yarn.
WORKING IN ROWS
Ch2 counts as first dc stitch.
TURN YOUR WORK at the end of each row.
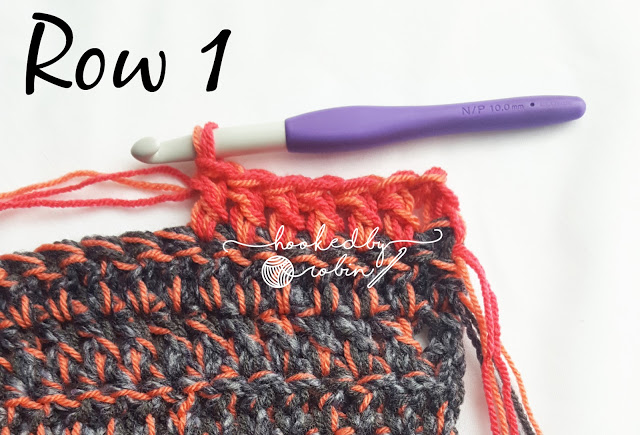
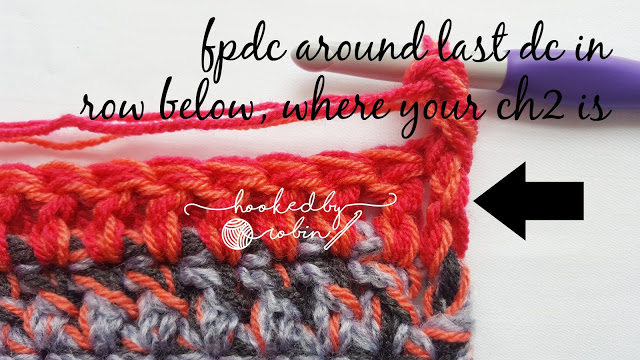
Ch2, 1dc into each stitch around (72)
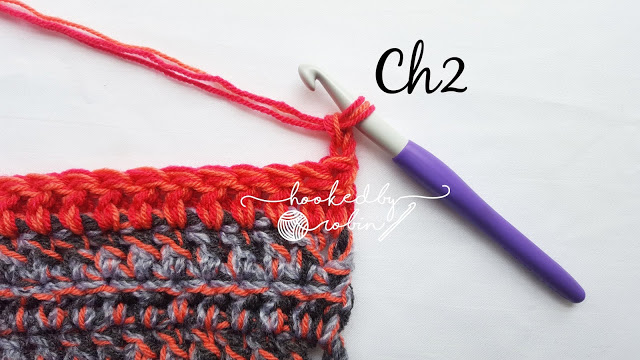
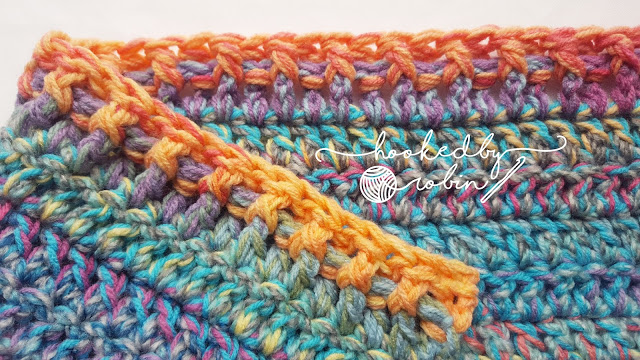
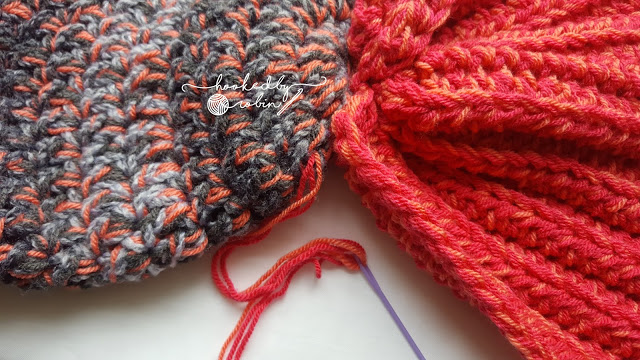
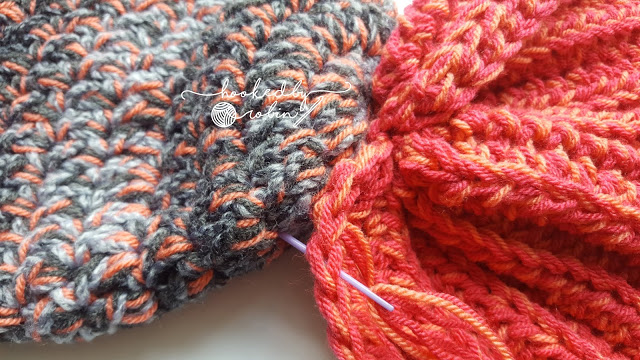
Ch2, fpdc around first stitch from row below. Bpdc around the next. Continue to alternate fpdc, bpdc around. (72)
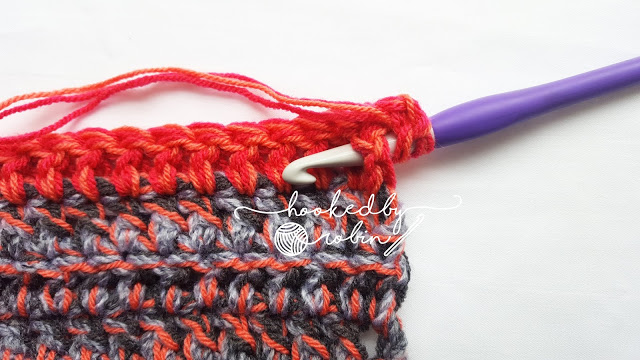


In this photo of one of my rainbow ombre tail bands, you can clearly see the alternating fpdc and bpdc.
Cut your yarn, leaving long tail to weave in.
Mermaid tail body section and contrasting band complete!
Onto the fin.
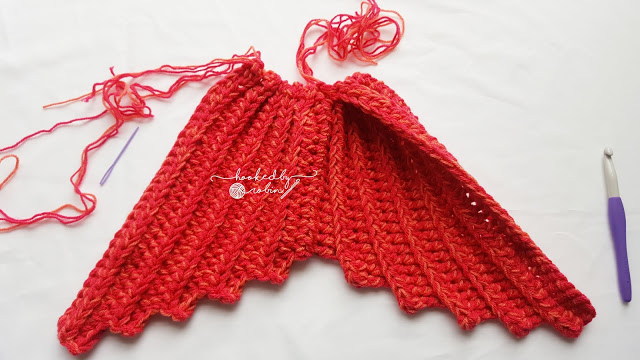
Mermaid Fin – first section
Leave a long tail of yarn before you start your work for sewing corner of your fin inwards.
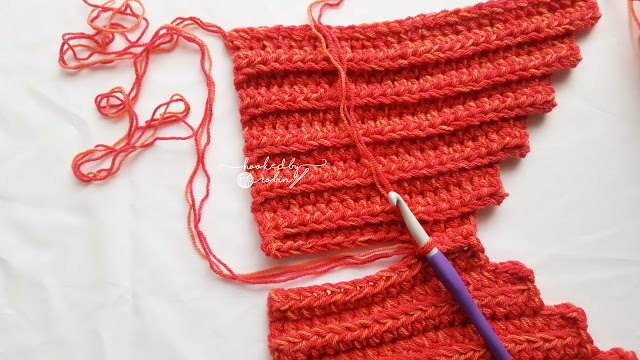
The fin is worked in 2 sections. Leaving stitches unworked at the end of the rows gives the stepped effect.
WORKING IN ROWS
Ch2 DOES NOT count as first dc stitch.
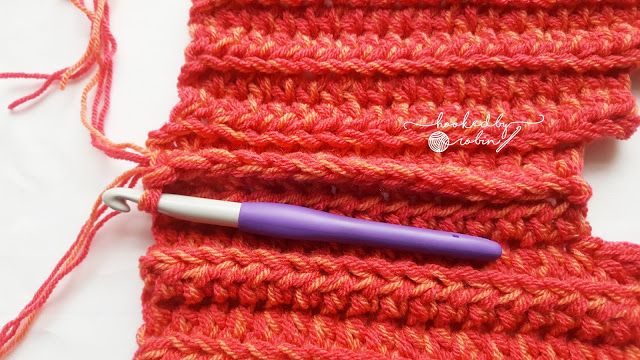
Work in the back loops only to produce the ribbed effect.
TURN YOUR WORK at the end of each row.
1. 30 fhdc. Ch2, turn. (30)
All rows are now worked in the BACK LOOP ONLY.
2. Hdc in each stitch. Ch2, turn. (30)
3. Hdc into next 27 stitches, leaving last 3 stitches unworked. Ch2, turn. (27)
4. Hdc in each stitch. Ch2, turn. (27)
5. Hdc into next 24 stitches, leaving last 3 stitches unworked. Ch2, turn. (24)
6. Hdc in each stitch. Ch2, turn. (24)
7. Hdc into next 21 stitches, leaving last 3 stitches unworked. Ch2, turn. (21)
8. Hdc in each stitch. Ch2, turn. (21)
9. Hdc into next 18 stitches, leaving last 3 stitches unworked. Ch2, turn. (18)
10. Hdc in each stitch. Ch2, turn. (18)
11. Hdc into next 15 stitches, leaving last 3 stitches unworked. Ch1 then cut your yarn leaving at least 36 inches for shaping and sewing tail fin. (15)

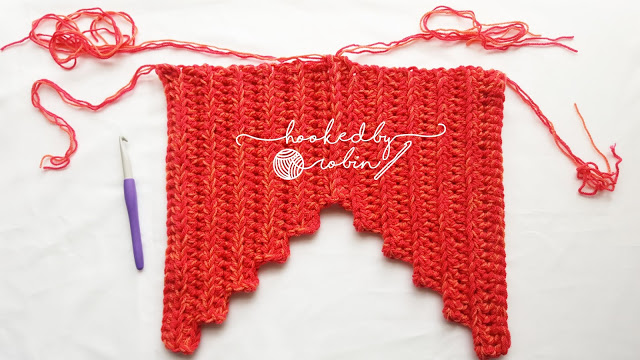
First section complete! Onto the second section.
Mermaid Fin – second section
Leave a long tail of yarn before you start your work for sewing corner of your fin inwards.
Leaving stitches unworked at the end of the rows gives the stepped effect.
WORKING IN ROWS
Ch2 DOES NOT count as first dc stitch.
Work in the back loops only to produce the ribbed effect.
TURN YOUR WORK at the end of each row.
1. 30 fhdc. Ch2, turn. (30)
All rows are now worked in the BACK LOOP ONLY.
2. Hdc in each stitch. Ch2, turn. (30)
3. Hdc into next 27 stitches, leaving last 3 stitches unworked. Ch2, turn. (27)
4. Hdc in each stitch. Ch2, turn. (27)
5. Hdc into next 24 stitches, leaving last 3 stitches unworked. Ch2, turn. (24)
6. Hdc in each stitch. Ch2, turn. (24)
7. Hdc into next 21 stitches, leaving last 3 stitches unworked. Ch2, turn. (21)
8. Hdc in each stitch. Ch2, turn. (21)
9. Hdc into next 18 stitches, leaving last 3 stitches unworked. Ch2, turn. (18)
10. Hdc in each stitch. Ch2, turn. (18)
11. Hdc into next 15 stitches, leaving last 3 stitches unworked. Ch1, turn (15)
DO NOT CUT YOUR YARN.
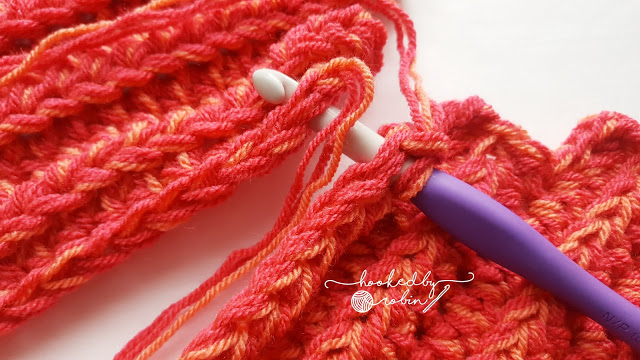
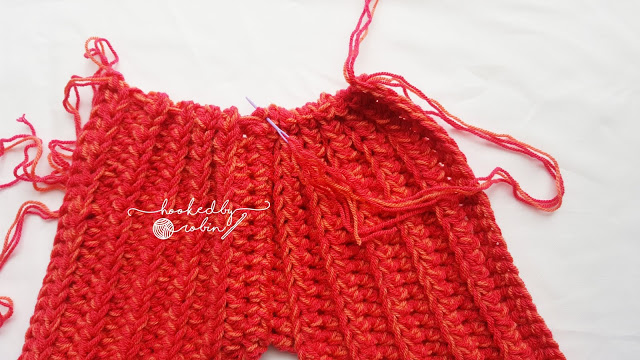
Place your first fin section alongside your current one, run the long tail of yarn along the side of your first section.
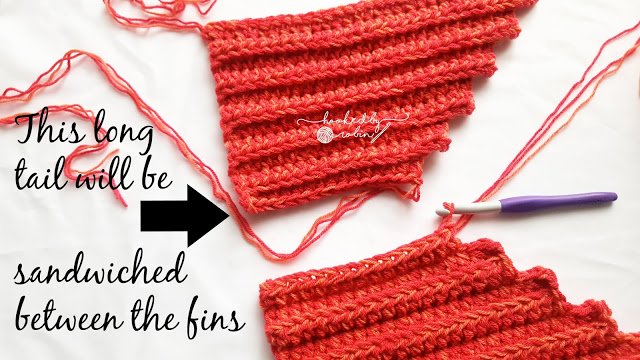
Crochet the 2 sections together using sc whilst sandwiching the long tail in-between the 2 fin sections. (15)

Cut your yarn leaving a long tail for weaving and sewing your fin.
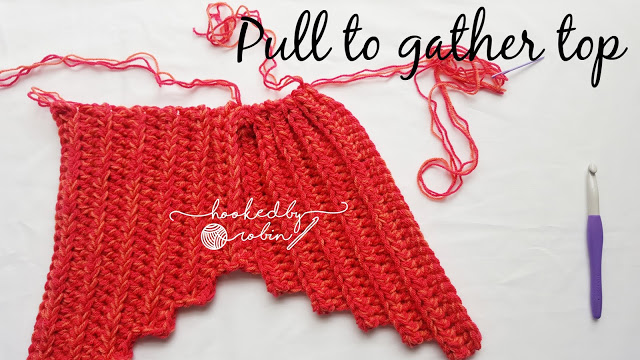
Shaping and attaching your fin
Flip your fin over so that the sc row is at the back.
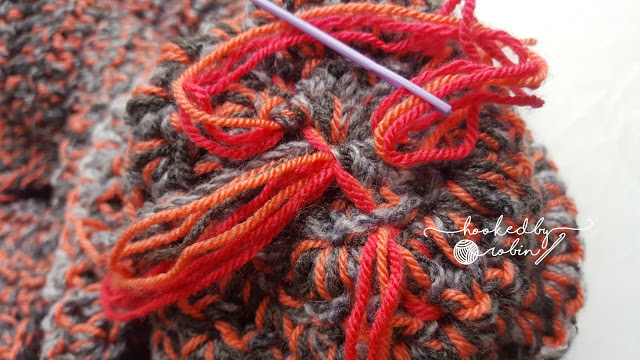
Weave the long tails of yarn in opposite directions then gently pull the tails to gather the top of your fin sections together.

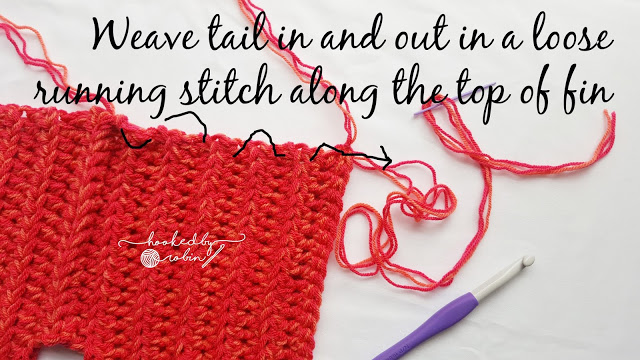
Thread the tails through the top of your sc joining.
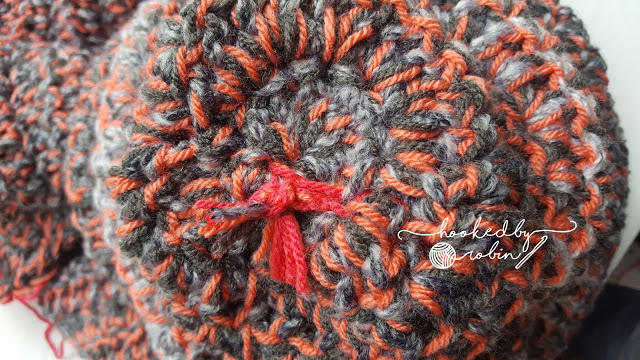
Once you have gathered both sections of your fin and passed the tails through the top of the sc row, tie a knot to secure in place.

Take the tails from your fhdc and thread them into the same place to also help secure your fin sides.
Pass all these yarn tails into the middle of your magic ring and knot securely on the inside of the body of your blanket.

Then, using the tails, sew each side of the fin to the first couple of rows of your blanket.
Experiment to see how you like how the fin sits and the shape – there is no right or wrong way to sew on your tail!
Once you are happy with your fin placement, securely knot all the tail ends together inside your blanket. Trim the knots and add a drop of washable glue to ensure the knot with not come undone in the washing process.
Enjoy lounging around in your tail. If you sing loudly enough, you may even find sailors are attracted to your door and will do your bidding whilst you bask in their attention.*
*sailors not guaranteed ;)
I would absolutely LOVE to see any Mermaid Tail blankets you make – please feel free to tag me in your photos on Instagram (I am @puddnhead) or post them to my Facebook page here!
If you have a question, why not check out my FAQs blog post here:
Happy crocheting!
Robin x