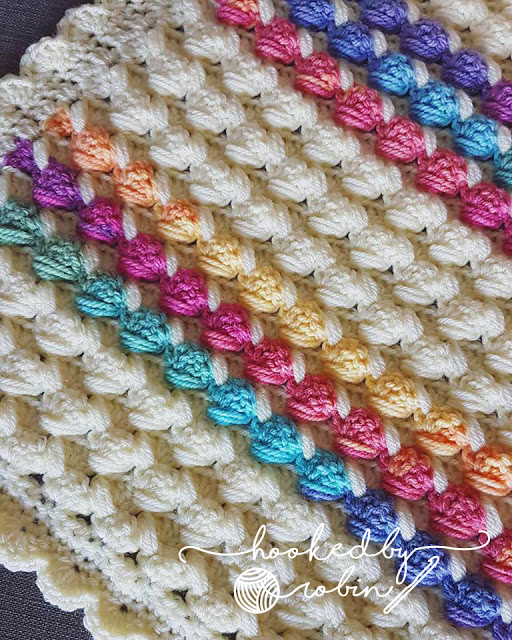
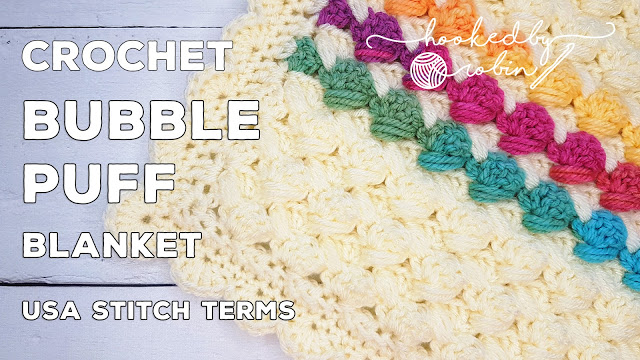
Crochet Bubble Puff Blanket
I’ve spent the last couple of weeks working quietly on this blanket – I am super amped to share it with you all! If you are a fan of texture, chunky fat stitches, fast growing projects and stunning yarn then the Bubble Puff Blanket is for you!
In my video, I spend the first 8 minutes (yes EIGHT MINUTES lol) chatting about this blanket, my inspiration for it, the yarn and general excited ramblings so pull up a chair, grab a cuppa and come and listen to me natter rather than reading my waffle!
For my particular blanket, I made it pram / stroller sized as it is a thick squishy blanket perfect for keeping baby warm.
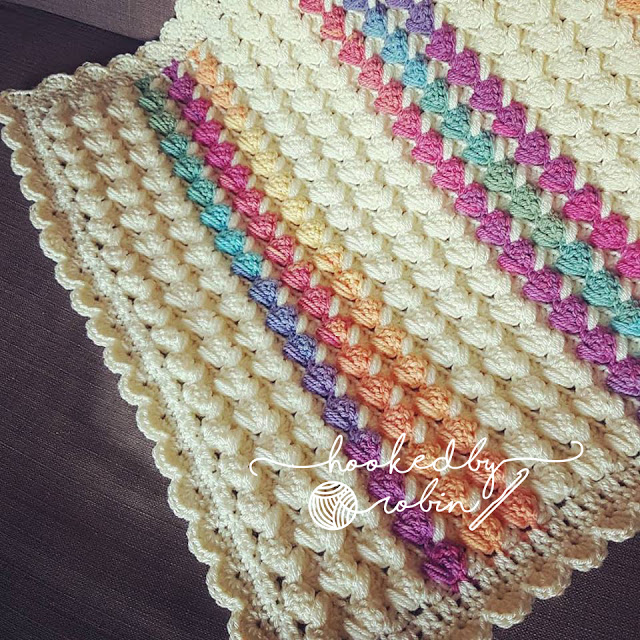
I am writing the pattern for the small stroller size, feel free to upscale this pattern – just be aware you will need more yarn the bigger you go.
Yarn required:
Sirdar Hayfield Spirit in Sundown: https://www.snufflebeanyarn.co.uk/products/sirdar-hayfield-spirit-chunky?variant=21501928767572&ref=7
Cygnet Chunky in Cream: https://www.snufflebeanyarn.co.uk/products/cygnet-chunky?variant=14035836403796&ref=7
6.5mm Crochet Hook·
Repeat pattern between the asterisks * …….. *·
Pattern notes / explanations specific to each row
(info inside bracket written in italics)
AMERICAN STITCH TERMS
Stitches / abbreviations used:
FSC = Foundation Single Crochet
Ch = Chain
Sc = Single Crochet
Hdc = Half Double Crochet
Dc = Double Crochet
Ss = slip stitch
Sp= space
Sk = skip
Shell = 5dc
Pattern multiple is 4FSC + 3FSC
TO START:
Pram / Stroller baby blanket size
Cream Yarn x 5 balls
Hayfield Spirit in Sundown x 2 balls
Make 71 FSC
(foundation single crochet)
Row 1:
Ch2 (does not count as a stitch) 1dc in 1st fsc
Skip 2
*5dc, sk3* until last 3fsc
Skip 2
1dc in last fsc
Row 2:
Ch2 (counts as a stitch) 2dc in 1st stitch
*4dc in 5th stitch of shell from row below. Puff inbetween 4th & 5th stitches of shell from row below*
(please see video)
End on 1dc in top of dc from row below
Row 3:
Ch2 (counts as a stitch) 2dc in 1st stitch
*4dc in 5th stitch of shell from row below. Puff inbetween 4th & 5th stitches of shell from row below*
(please see video)
End on 1dc into top of ch2 from row below
REPEAT ROW 3
to end of blanket
To finish your blanket, you need to straighten up the top edge so it matches the bottom.
This is done over 2 rows.
End Row 1:
Ch1 (does not count as a stitch) 1hdc & 1dc into 1st stitch
*3dc in 5th dc stitch of shell from row below*
End on 1hdc into top of ch2 from row below
Final row:
(this row is important to match the stitch count to your fsc row)
Ch1 (does not count as a stitch) sc in 1st stitch
*sc over next 3 stitches, sc inbetween next 2 stitches*
(please see video)
End on sc in last 2 stitches. Ch1, cut your yarn.
COLOUR SEQUENCE FOR CREAM / SUNDOWN BLANKET
Using Cream: FSC row
Rows 1 – 6: Cream
Row 7: Sundown
Row 8: Cream
Row 9: Sundown
Row 10: Cream
Row 11: Sundown
Rows 12 – 18: Cream
Row 19: Sundown
Row 20: Cream
Row 21: Sundown
Row 22: Cream
Row 23: Sundown
Rows 24 – 30: Cream
Row 31: Sundown
Row 32: Cream
Row 33: Sundown
Row 34: Cream
Row 35: Sundown
Rows 36 – 42: Cream
Row 43: Sundown
Row 44: Cream
Row 45: Sundown
Row 46: Cream
Row 47: Sundown
Rows 48 – 52: Cream
End Row 1: Cream
Final Row: Cream
Now you are ready for the border!
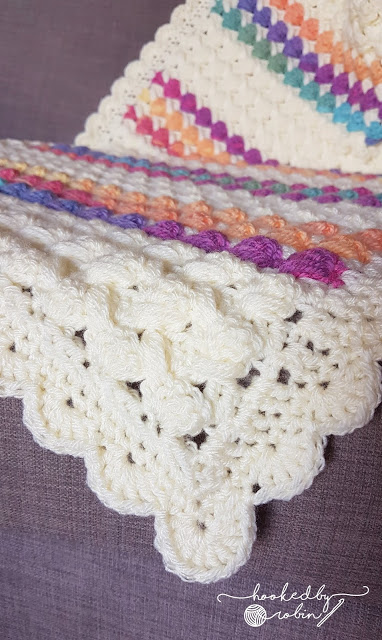
BORDER TIME!
Border Pattern (for stroller size blanket above – please see video for how to make a border on a larger version of the Bubble Puff blanket)
Using cream and with the right side of your blanket facing you:
ROUND 1
Join yarn to 1st stitch (top right hand corner of blanket)
3sc in 1st stitch (1st corner made)
Sc in each stitch along
3sc in last sc (2nd corner made)
Dc evenly down the side (2 dc per row, please see video)
3sc in 1st stitch of bottom (3rd corner made)
Sc in each stitch along
3sc in last sc (4th corner made)
Dc evenly back up the side (2 dc per row, please see video)
ROUND 2
(please see video for clarification)
Top edge
9dc into 2nd sc of 3sc
*skip 1, ss, skip 1, 5dc* to corner
Skip 2, 9dc into 2nd sc of 3sc
Join with ss to 1st sc.
Side
Skip 2, ss
*skip 1, 5dc, skip 1, ss* to last few stitches
Skip 2, 5dc, skip 2, 9dc into 2nd sc of 3sc
Bottom edge
Skip 2, ss
*skip 1, 5dc, skip 1, ss* to end
Skip 2, 9dc into 2nd sc of 3sc
Side
Skip 2, ss
*skip 1, 5dc, skip 1, ss* to end putting final ss just before beginning 9dc
I hope that makes sense!
Please see the video for clarification of the border as seeing it written down looks mega complicated! Eek!
If you have any questions about this pattern / spot any errors / notice any typos but holler!
I would absolutely LOVE to see any Bubble Puff blankets you make – please feel free to tag me in your photos on Instagram (I am @puddnhead) or post them to my Facebook page here! <3
Happy crocheting!
Robin x