


Crochet Chained Overlay Stitch Written Pattern
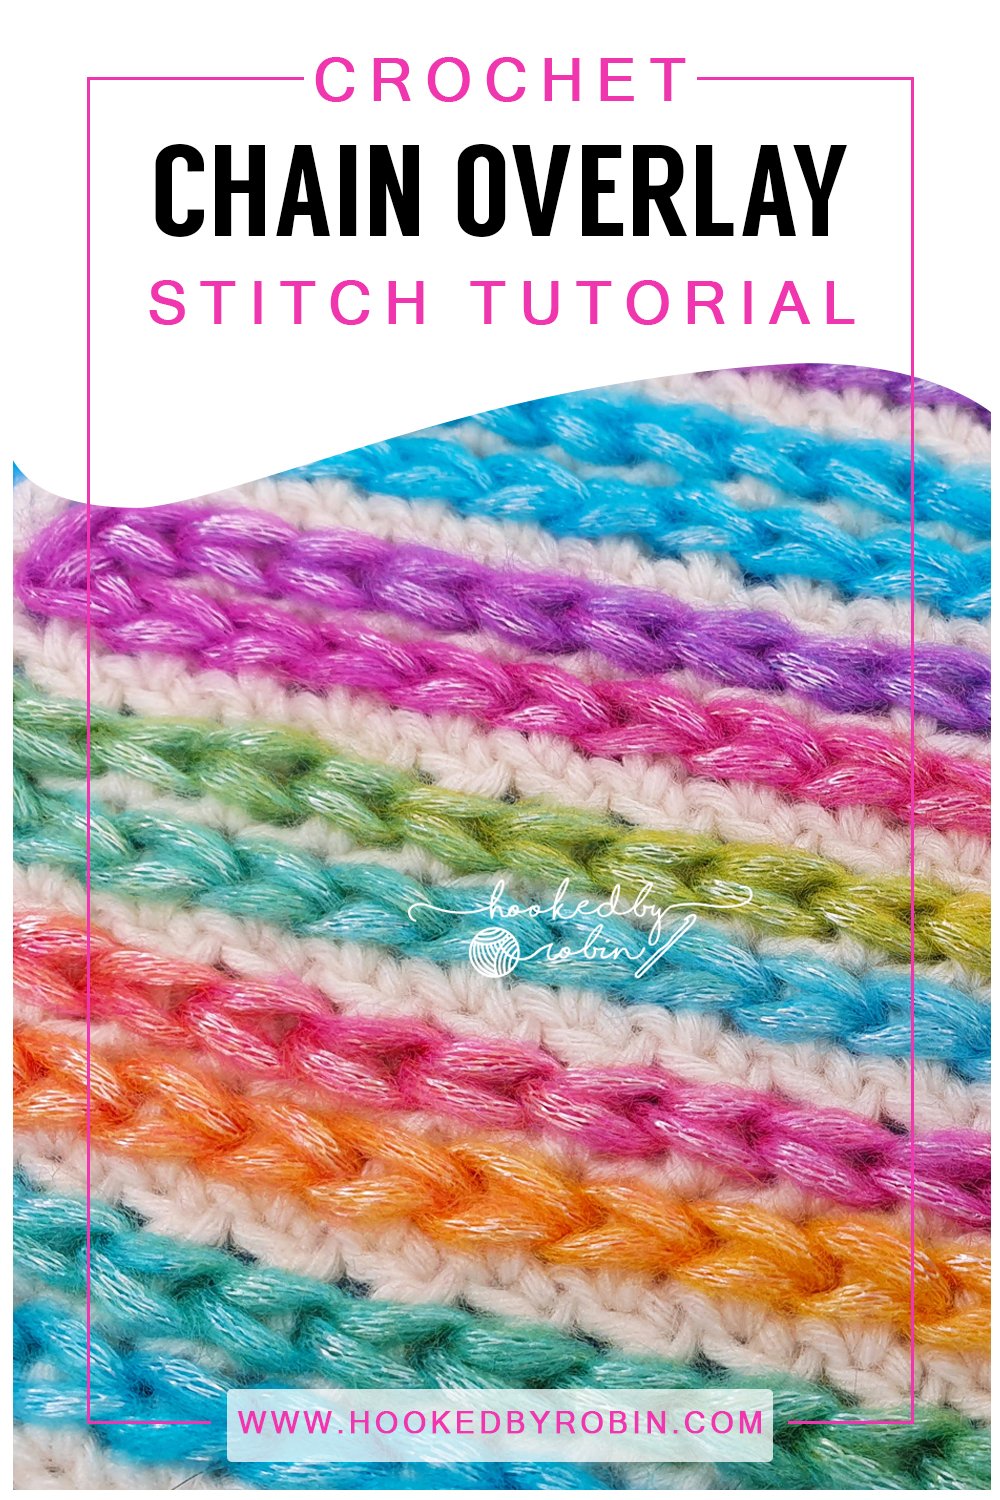
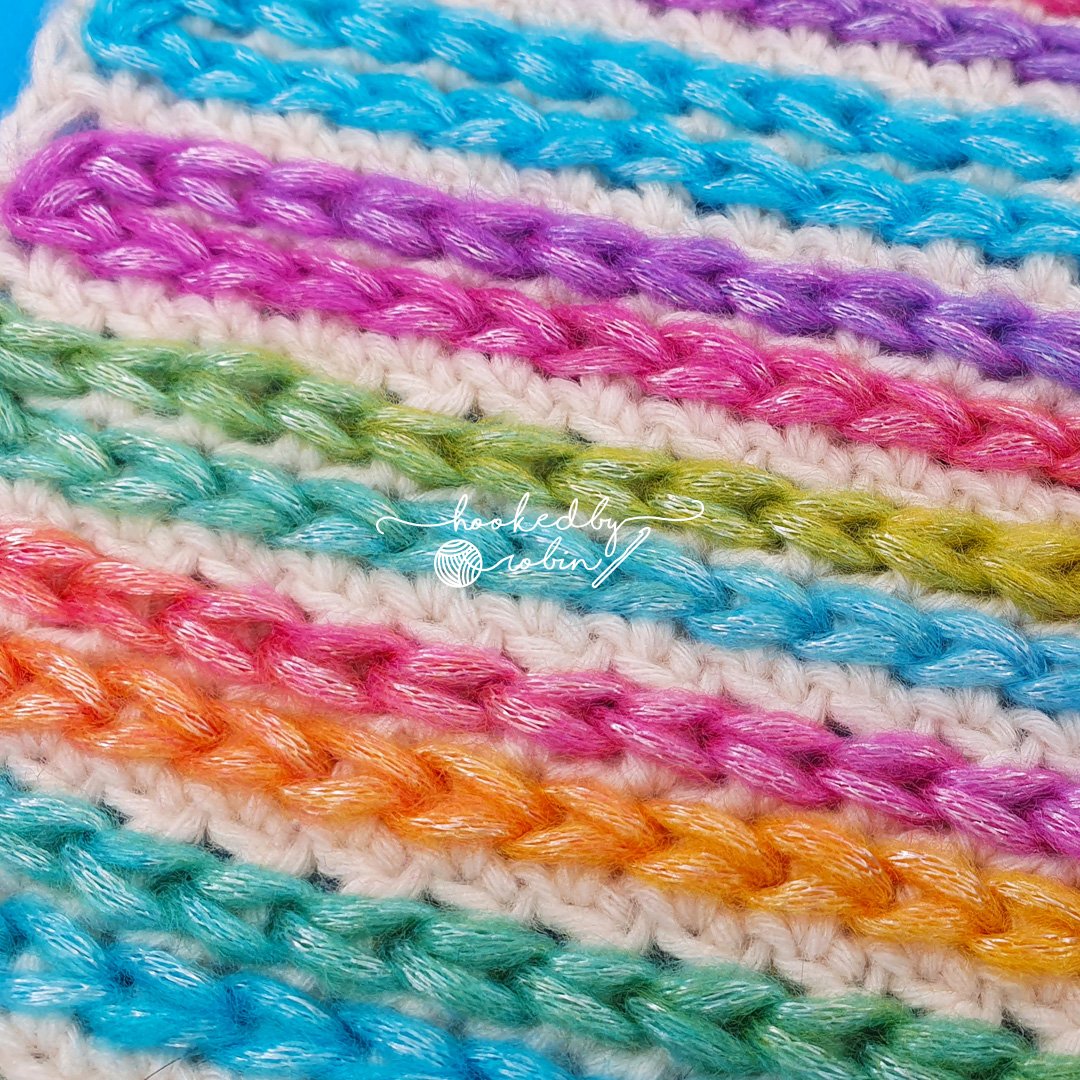
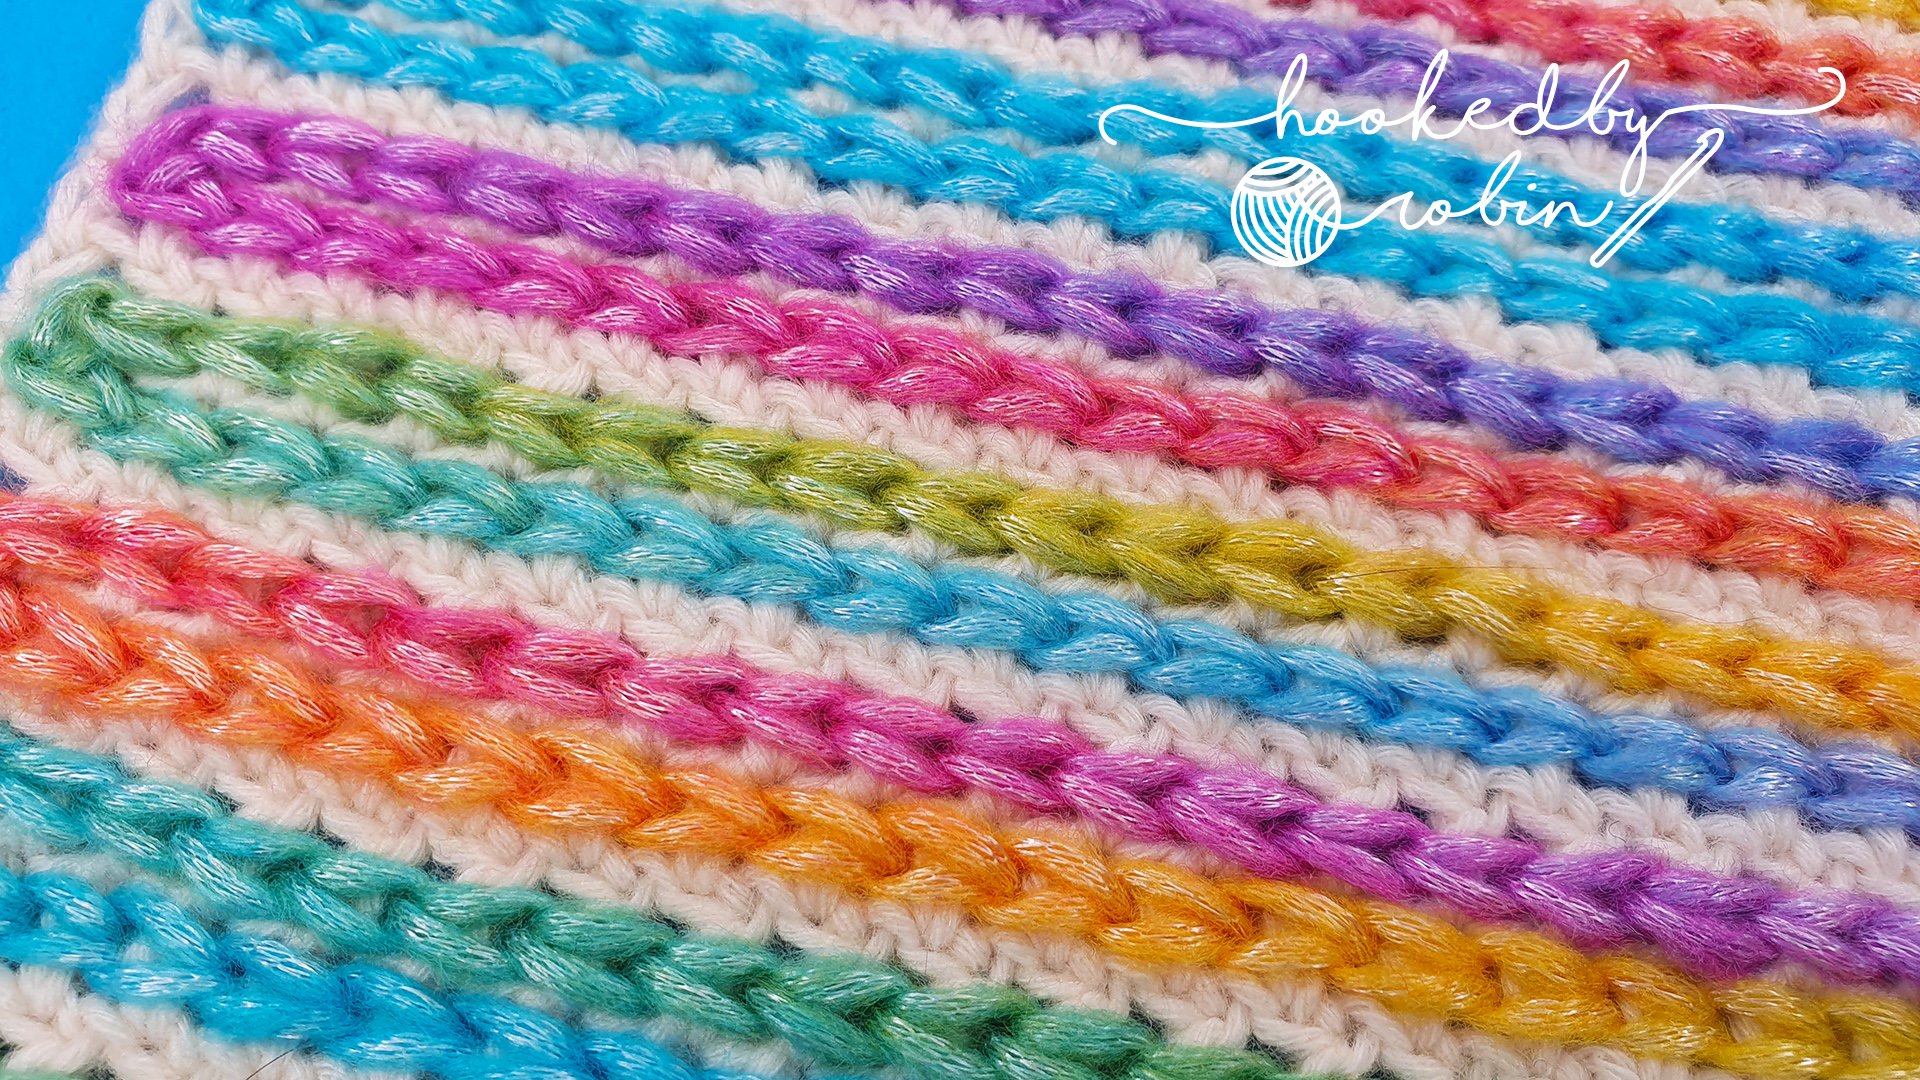
Learn how to Crochet the Chained Overlay Stitch. This is a fantastic technique for learning how to surface chain on your crochet work. You can paint with your yarn to form all sorts of chained patterns!
Formed in 2 parts over a crochet base mesh layer, this video takes you through, step by step how to crochet this unique stitch.
Pin for later
Crochet Chained Overlay Stitch | SURFACE Chain Stitch WRITTEN PATTERN
Hook Size(s): according to your yarn - for the chained overlay part, it would be better to go up a few hook sizes for looser stitches e.g., if you used a 3.5mm hook for the mesh, use a 6mm hook for the chained overlay – this keeps the fabric from puckering
For my sample I used:
Crochet Mesh Base: Scheepjes Stonewashed in Moonstone with a 3.5mm Hook
Crochet Chained Overlay: Ice Yarn Picasso Rainbow with a 6mm Hook (available to purchase HERE)
Abbreviations: USA STITCH TERMS
• Ch = Chain
• DC = Double crochet
• Rep = Repeat
• Ch sp = Chain space
• St = Stitch
Crochet Mesh Base:
Foundation Row:
Ch multiples of 2 for your desired width then add 6 ch.
Row 1:
Starting in the sixth ch from the hook, rep *1 DC, ch 1, skip 1 st* across.
The row should end with 1 DC in the last st.
Row 2:
Ch 3 and turn.
Rep *1 DC, ch 1* across, working on top of the st of the previous row.
The row should end with 1 DC in the last st.
Rows 3-onward:
Rep row 2 for as long as you’d like the mesh portion to be.
Once you reach the desired length, fasten off and cut the yarn.
CHAINED OVERLAY
For the chained overlay part, it would be better to go up a few hook sizes for looser stitches e.g., if you used a 3.5mm hook for the mesh, use a 6mm hook for the chained overlay – this keeps the fabric from puckering
Attach the yarn to the bottom corner of your work (or wherever you want to start the chained overlay).
The yarn will remain at the BACK of your work.
Rep *insert your hook into the next ch sp, grab the yarn, pull it through the loop on the hook* across.
To turn at the corner for the next row, turn your work and insert your hook into the first ch sp of the next row, continuing the pattern.
At the end of your project, fasten off and cut the yarn.
If you spot any errors in the written pattern please do let me know.
Happy Crocheting!
Robin x


![Crochet Larksfoot Stitch Written Pattern [Free Video Tutorial & Written Pattern!]](https://images.squarespace-cdn.com/content/v1/5e18a0efb9904526f1bedb80/1652780030691-J2Z0K304VGZIBIDGMOZB/blog+larksfoot.jpg)
![Crochet Mini Interlocking Block Stitch [Free Video Tutorial & Written Pattern!]](https://images.squarespace-cdn.com/content/v1/5e18a0efb9904526f1bedb80/1724531713316-7VS2QNULL0RNEY0JU5A2/blog+mini+interlocking+stitch.jpg)