

![Crochet Colour Work Granny Squares [Free Video Tutorial & Written Pattern!]](https://images.squarespace-cdn.com/content/v1/5e18a0efb9904526f1bedb80/1666804989780-5SM4VMYK5BMBU5WR70RN/blog_colour_work_squares.jpg)
Crochet Colour Work Granny Squares [Free Video Tutorial & Written Pattern!]
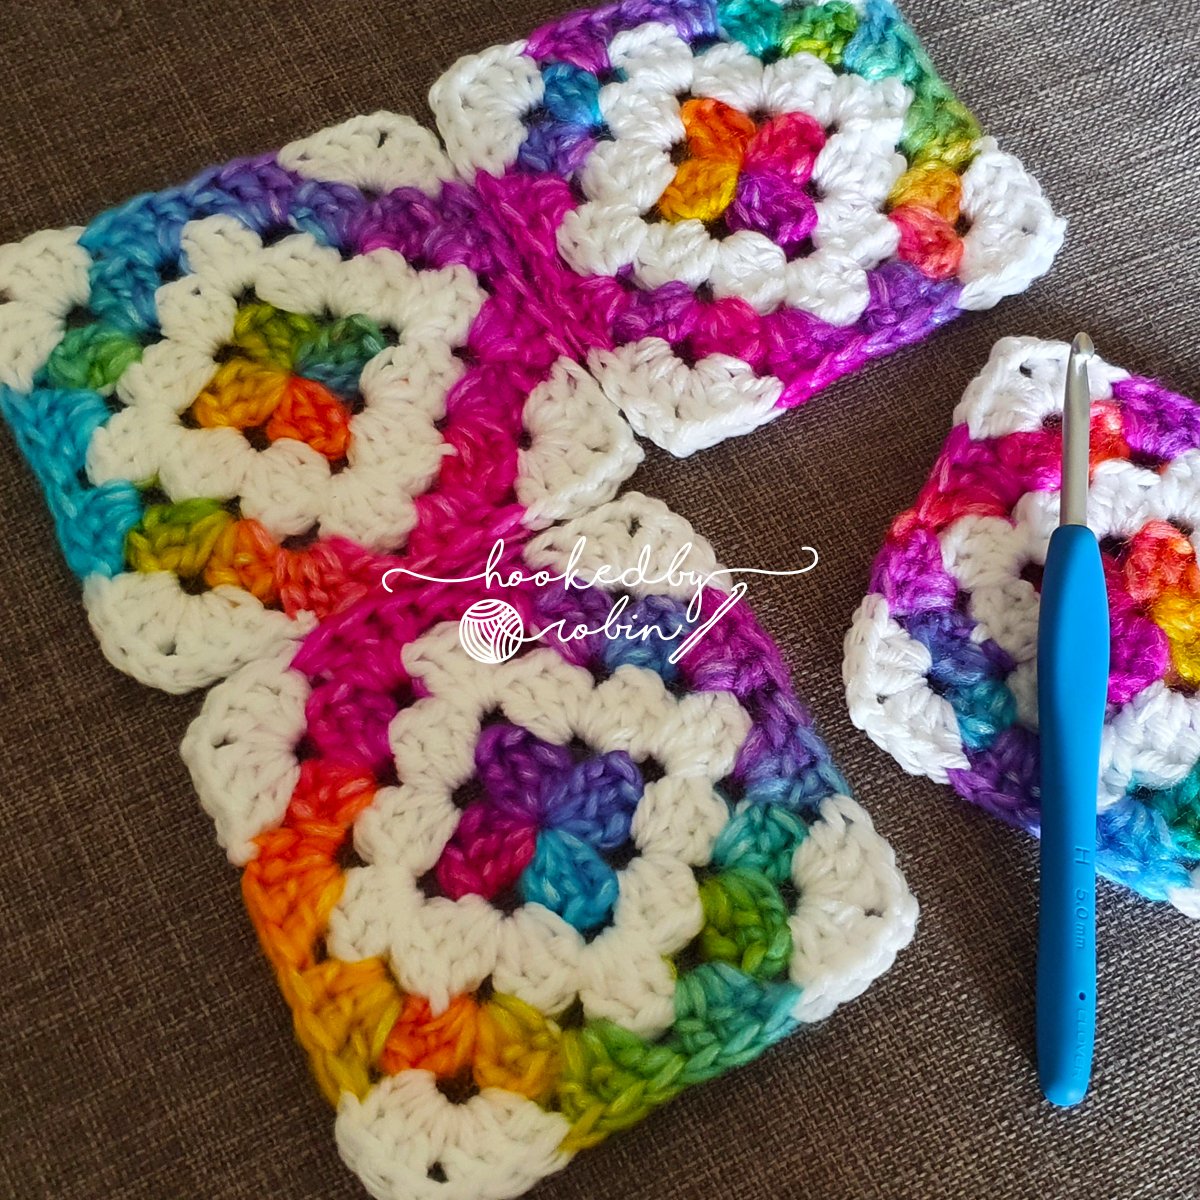
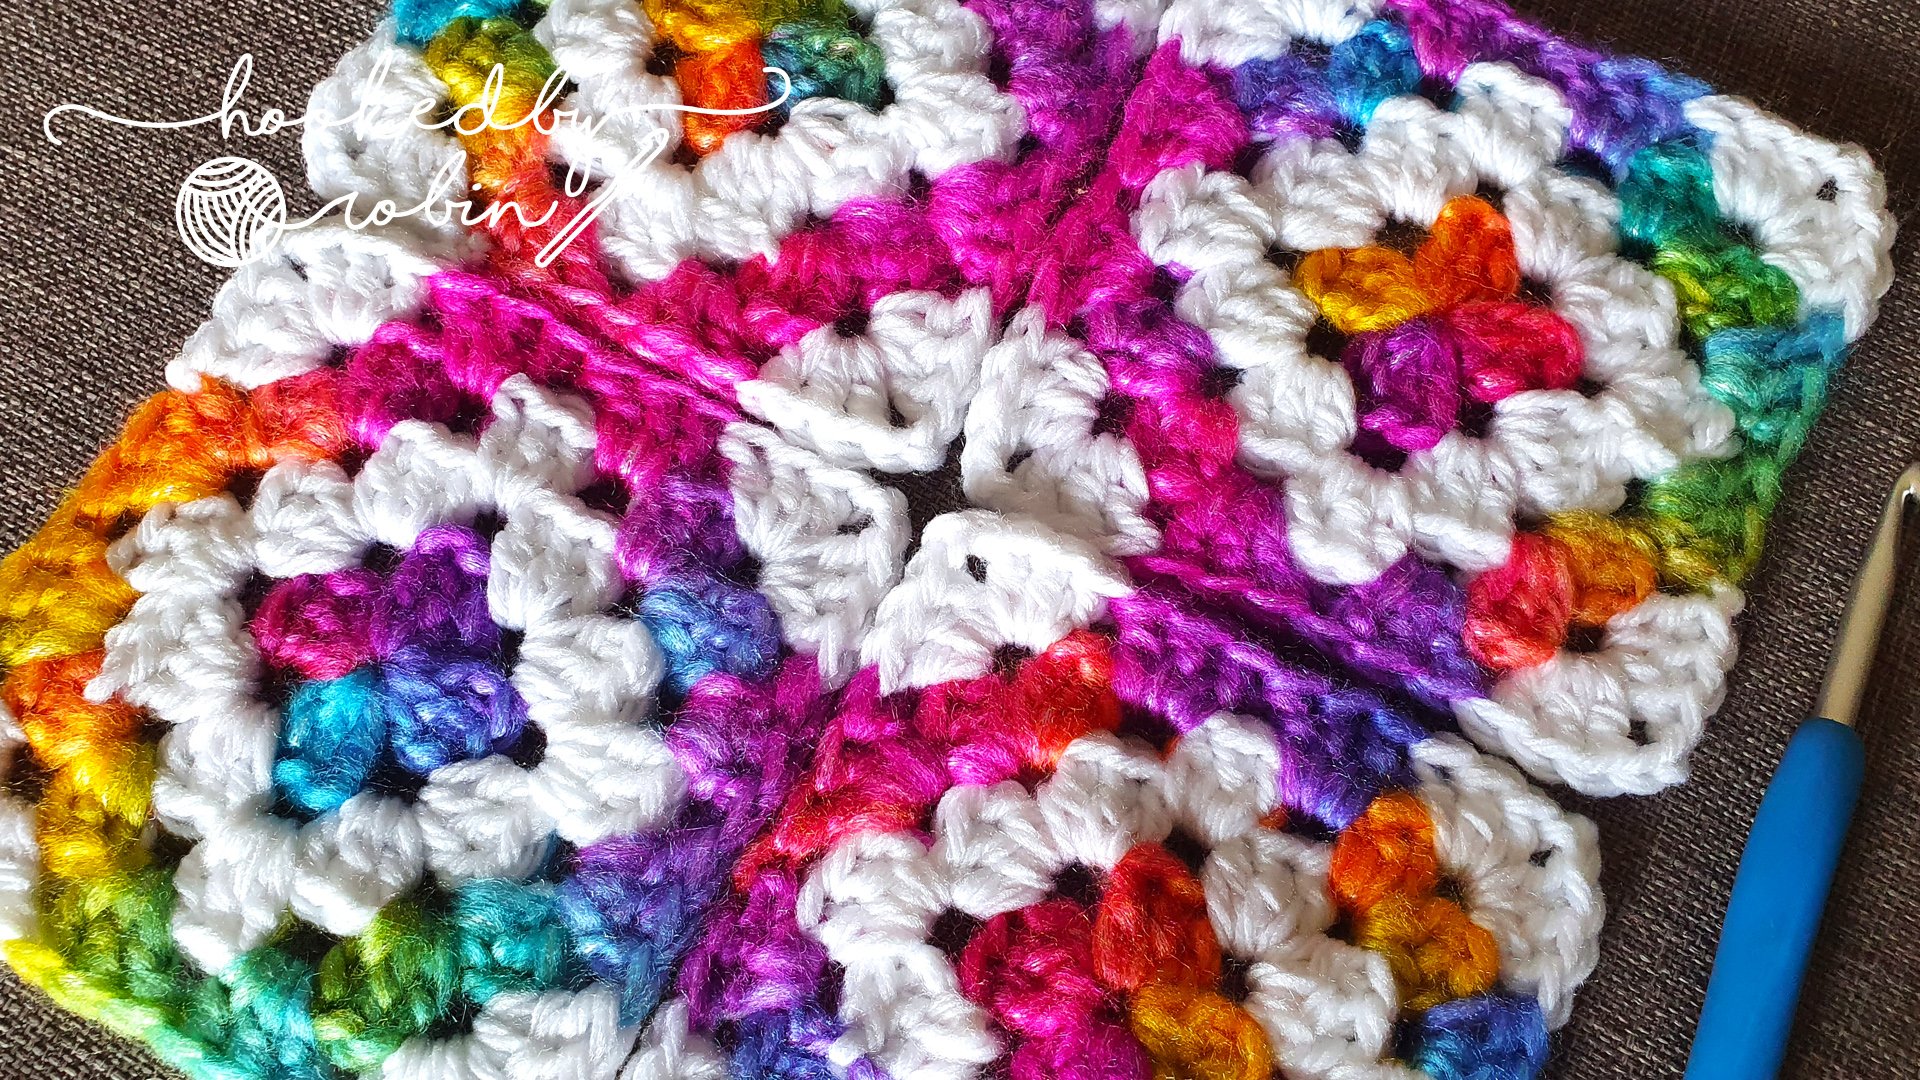
Learn how to crochet this gorgeous granny square - using simple colour work to dramatically change how your square looks! All you need is 2 contrasting colours to create this beautiful mosaic tile effect crochet square.
Watch the full step by step video tutorial below or alternatively, keep scrolling for the written pattern :)
Pin for later

Crochet Colour Work Granny Squares WRITTEN PATTERN
USA STITCH TERMS
Hook Size(s): according to your yarn
In the sample squares I used Ice Yarn Picasso Rainbow and Ice Yarn Baby Softly in White with a 5.5mm crochet hook.
Abbreviations:
• Ch = Chain
• Sl St = Slip Stitch
• DC = Double Crochet
• St = Stitch
Foundation: Create magic ring using first colour.
Ch 3, 2 DC into ring.
Repeat * Ch 2, 3 DC into ring. * 3 times.
Ch 2, join with a sl st into beginning Ch 3.
Tie off.
Close magic ring.
Round 2: Attach second colour to any of the Ch 2 spaces.
Ch 3, 2 DC into Ch 2 sp. Ch 2, 3 DC into same Ch 2 sp. (this creates a corner)
Repeat * 3 DC, Ch 2, 3 DC in the next Ch 2 sp. * three times.
Ch 2, join with a sl st into beginning Ch 3.
Sl St until you reach first Ch 2 sp.
Attach first colour.
Round 3: Keep second colour attached, and work over it to carry the yarn.
Ch 3, 2 DC in Ch 2 sp. Ch 2, 3 DC in Ch 2 sp. (Change to second colour during last DC)
Carrying first colour yarn, place 3 DC in next sp. (Change to first colour during last DC)
Carrying second colour yarn, place 3 DC in next Ch 2 sp. Ch 2, 3 DC in same Ch 2 sp. (Change to second colour during last DC)
Carrying first colour yarn, place 3 DC in next sp. (Change to first colour during last DC)
Carrying second colour yarn, place 3 DC in next Ch 2 sp. Ch 2, 3 DC in same Ch 2 sp. (Change to second colour during last DC)
Carrying first colour yarn, place 3 DC in next sp. (Change to first colour during last DC)
Carrying second colour yarn, place 3 DC in next Ch 2 sp. Ch 2, 3 DC in same Ch 2 sp. (Change to second colour during last DC)
Carrying first colour yarn, place 3 DC in next sp. (Change to first colour during last DC)
Join with a sl st into beginning Ch 3.
Round 4: With first colour Ch 3. 2 DC in same sp you sl st into. (Change to second colour during last DC)
Carrying first colour yarn- 3 DC in Ch 2 sp. Ch 2, 3 DC in same Ch 2 sp. (Change to first colour during last DC)
Carrying second colour yarn, place 3 DC in next sp.
Carrying second colour yarn, place 3 DC in next sp. (Change to first colour during last DC)
Carrying first colour yarn- 3 DC in Ch 2 sp. Ch 2, 3 DC in same Ch 2 sp. (Change to first colour during last DC)
Carrying second colour yarn, place 3 DC in next sp.
Carrying second colour yarn, place 3 DC in next sp. (Change to first colour during last DC)
Carrying first colour yarn- 3 DC in Ch 2 sp. Ch 2, 3 DC in same Ch 2 sp. (Change to first colour during last DC)
Carrying second colour yarn, place 3 DC in next sp.
Carrying second colour yarn, place 3 DC in next sp. (Change to first colour during last DC)
Carrying first colour yarn- 3 DC in Ch 2 sp. Ch 2, 3 DC in same Ch 2 sp. (Change to first colour during last DC)
3 DC in next sp.
Join with a sl st into beginning Ch 3.
Tie off.
Weave in any loose ends!
If you spot any errors in the written pattern please do let me know.
Happy Crocheting!
Robin
![Crochet Suzette Scarf [Free Video Tutorial & Written Pattern!]](https://images.squarespace-cdn.com/content/v1/5e18a0efb9904526f1bedb80/1667396283497-YK3K2GUJGGBJN7AJCSJS/blog_3_hour_scarf.jpg)
![Crochet Waffle Stitch [Free Video Tutorial & Written Pattern!]](https://images.squarespace-cdn.com/content/v1/5e18a0efb9904526f1bedb80/1664875481922-QNRO2CP9JZWOB98BC5C2/blog+waffle+stitch.jpg)
![Crochet Circle in a Square [Free Video Tutorial & Written Pattern!]](https://images.squarespace-cdn.com/content/v1/5e18a0efb9904526f1bedb80/1672762739269-Y2NRNBPHZWRUH4K156KS/blog_circle_in_a_square.jpg)
![Crochet Puff Post Square [Free Video Tutorial & Written Pattern!]](https://images.squarespace-cdn.com/content/v1/5e18a0efb9904526f1bedb80/1682536602511-BN5J2ZP5J6WCL5O7CC0F/blog_puff_post_square.jpg)
![Crochet Popcorn Floral Granny Square [Free Video Tutorial & Written Pattern!]](https://images.squarespace-cdn.com/content/v1/5e18a0efb9904526f1bedb80/1718011142266-5OLHDZW4J1NBUN81EUID/blog+popcorn+floral+square.jpg)